I’ve wanted to dye our Easter eggs with food-based dyes for years, but it all felt a bit overwhelming and uncertain. The more health-conscious our family becomes, though, the more motivated I am to switch out old habits for safer options. Options that are just as stunning in the end! I am so happy with the warm tones I was able to get using items from our grocery store and know we’ll be trying even more colors next year!
If you’re wanting to try natural dyes this Easter because you want to skip the fake, processed dye tabs or maybe you are just as curious as I am about the magic of drawing color from plants, this is the tutorial for you! If you’re hoping it’ll be a tidy, quick process … well … we can all learn to slow it down a bit, right? Ha! It IS something your kids can help with and you can rest assured that your hard-boiled eggs can be snacked on or turned into egg salad leftovers because all items involved are natural and plant based!
Supplies
-hard boiled eggs (white eggs allow brighter colors, brown allow warmer/darker colors)
-white vinegar
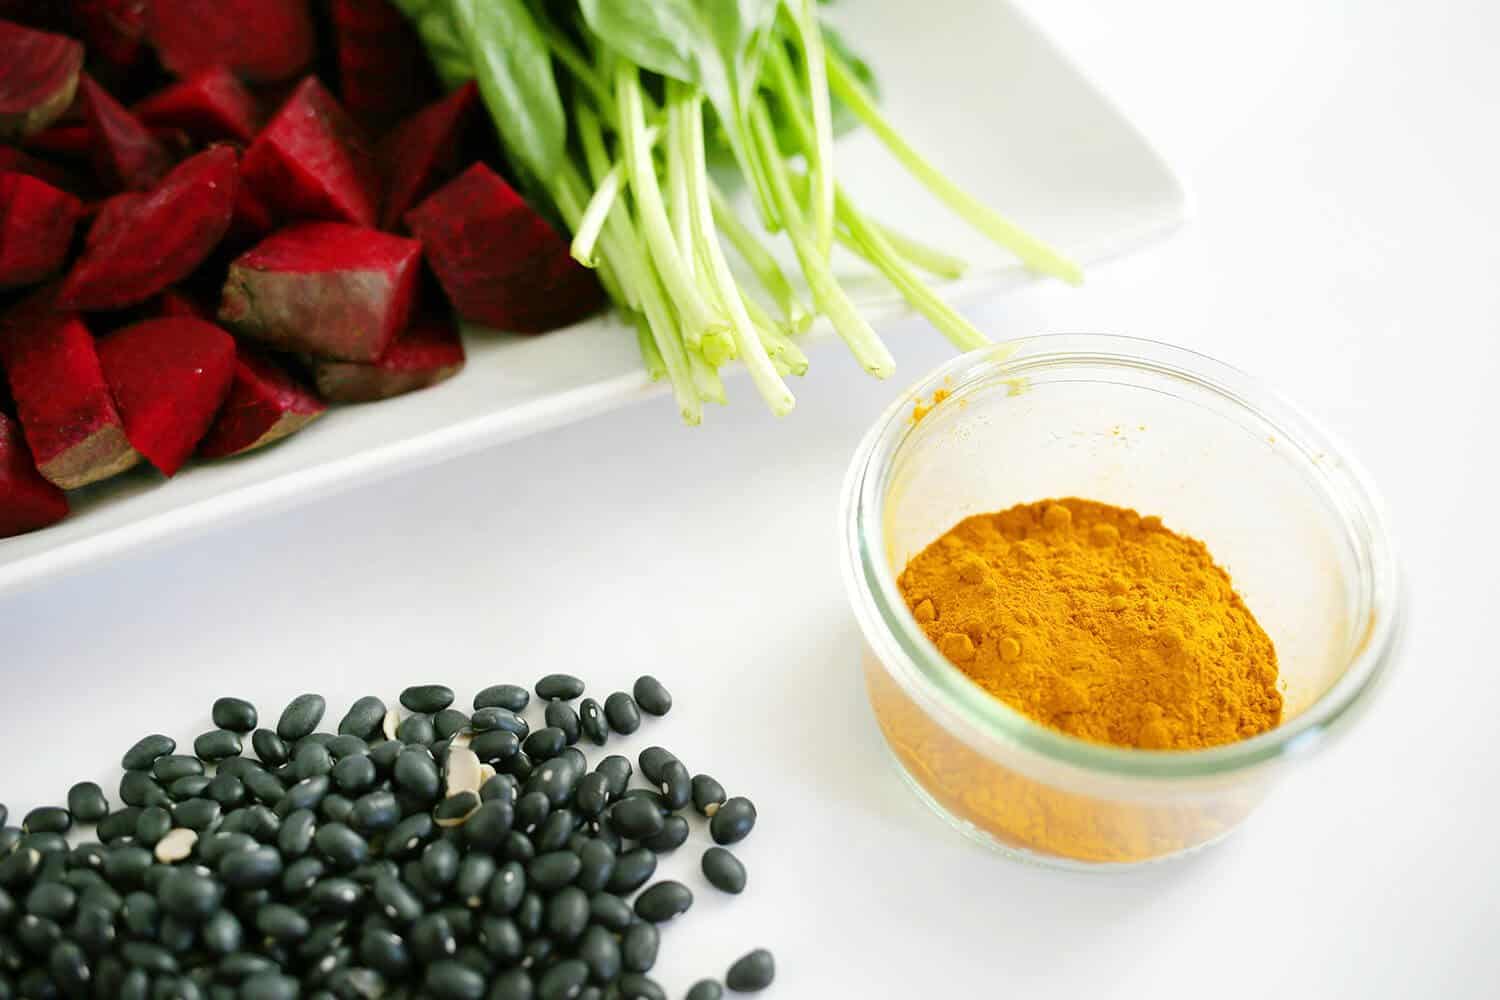
-5 medium beets
-one red cabbage
-1 pound raw spinach
-turmeric
-5 avocados
-small bag of dry black beans
-3-5 sauce pans depending on how many vegetables you are dyeing
-3-5 containers to hold dye (small mixing bowls, mason jars, clear plastic cups)
-tongs or large metal spoons
-strainer

There are conflicting methods out there for how to get the best colors from your plant-based dyes, as well as how long to let them sit in your dye pot, to heat or not to heat, etc. I’m here to share what worked and what left me slightly uninspired. The good news is, the colors that did turn out made my heart skip a beat after seeing them all together!
Below I’ve organized instructions and ingredients by color in case you’re only wanting to use some of them.
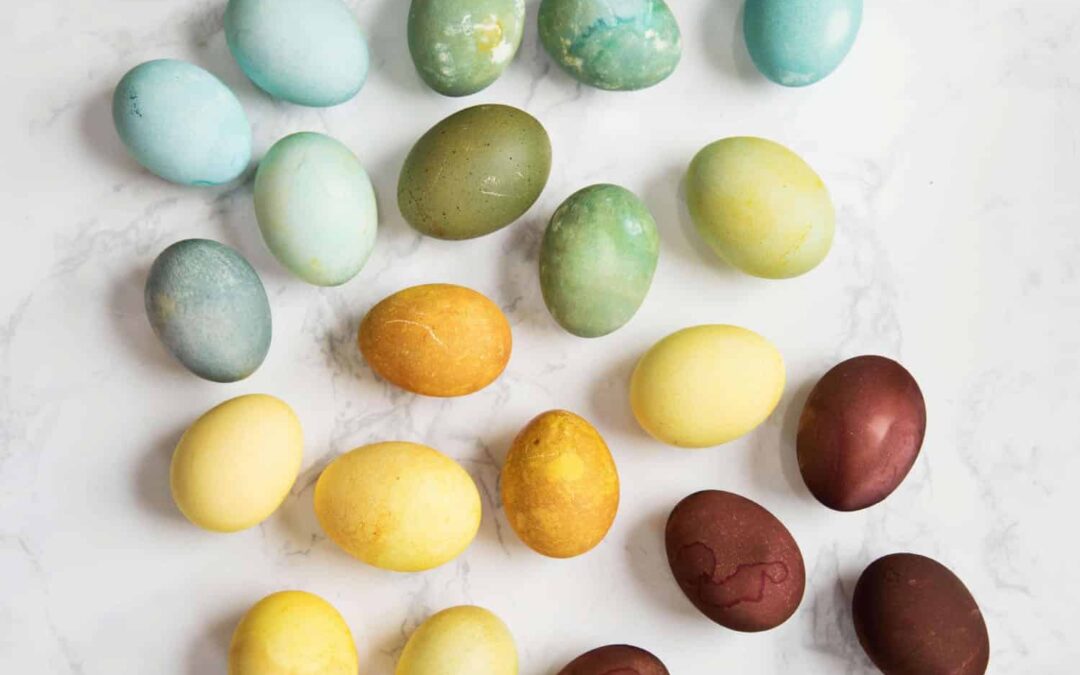
Blues
-red cabbage dye, white eggs left to soak for two hours=robins eggs blue
-red cabbage dye, white eggs left to soak overnight=aqua
-red cabbage dye, add 1 TB white vinegar, white eggs left to soak overnight=lightest blue/violet
-black bean dye, white eggs left to soak overnight=grayish blue
Greens
-spinach dye, white eggs left to soak overnight=light green
-spinach dye, white eggs left to soak two hours and dried, then added to cabbage dye for two hours=light teal
-red cabbage dye, white eggs left to soak for two hours, dried, soaked in turmeric overnight=light olive green
-red cabbage dye, brown egg left to soak overnight, dried, soaked in turmeric for four hours=darkest green
note: white vinegar washes out green from spinach so don’t add vinegar to this one.
Yellows
-turmeric dye, white eggs added while simmering 30 minutes, left to cool for two hours=mustard yellow
-turmeric dye, 1 TB white vinegar, white eggs left to soak for two hours=bright yellow
-turmeric dye, brown eggs left to soak overnight=hardly shows up
Peach
-avocado pit dye, white eggs left to soak overnight=pastel peach
Maroon
-beet dye heated, white eggs left to soak overnight=dark brown
-beet dye heated, white eggs left to soak four hours=maroon
-beet dye not heated, white eggs left to soak overnight=faintest pink but not pretty
-beet dye heated, added 2TB white vinegar, white eggs to soak overnight=pickled pink eggs
-beet dye heated, added 1 TB white vinegar, white eggs dipped and dried, dipped and dried (4 times)=light pink eggs with odd spots all over
I was most disappointed with my beet dye experiments. I saw a few examples of bright pinks, fuchsias, and even pastel pinks, but I just couldn’t get my pinks to take on my white eggs. The colors that did take ended up pickling the eggs because I added too much vinegar and they dented when I tried picking them up. Saddest face emoji!!! I do love the cranberry, maroon shades but they don’t exactly scream springtime to me.
I’ve heard a substitute for a good pink or red is cranberries, but I couldn’t find any in our grocery stores. You may have better luck than I did!
If you’re wanting to get your feet wet with only two dye pots, I suggest doing red cabbage and turmeric. You can get your blues and yellows and then mix the blues and yellows to get different shades of green. If you can find a happy red/pink, then you’re set!
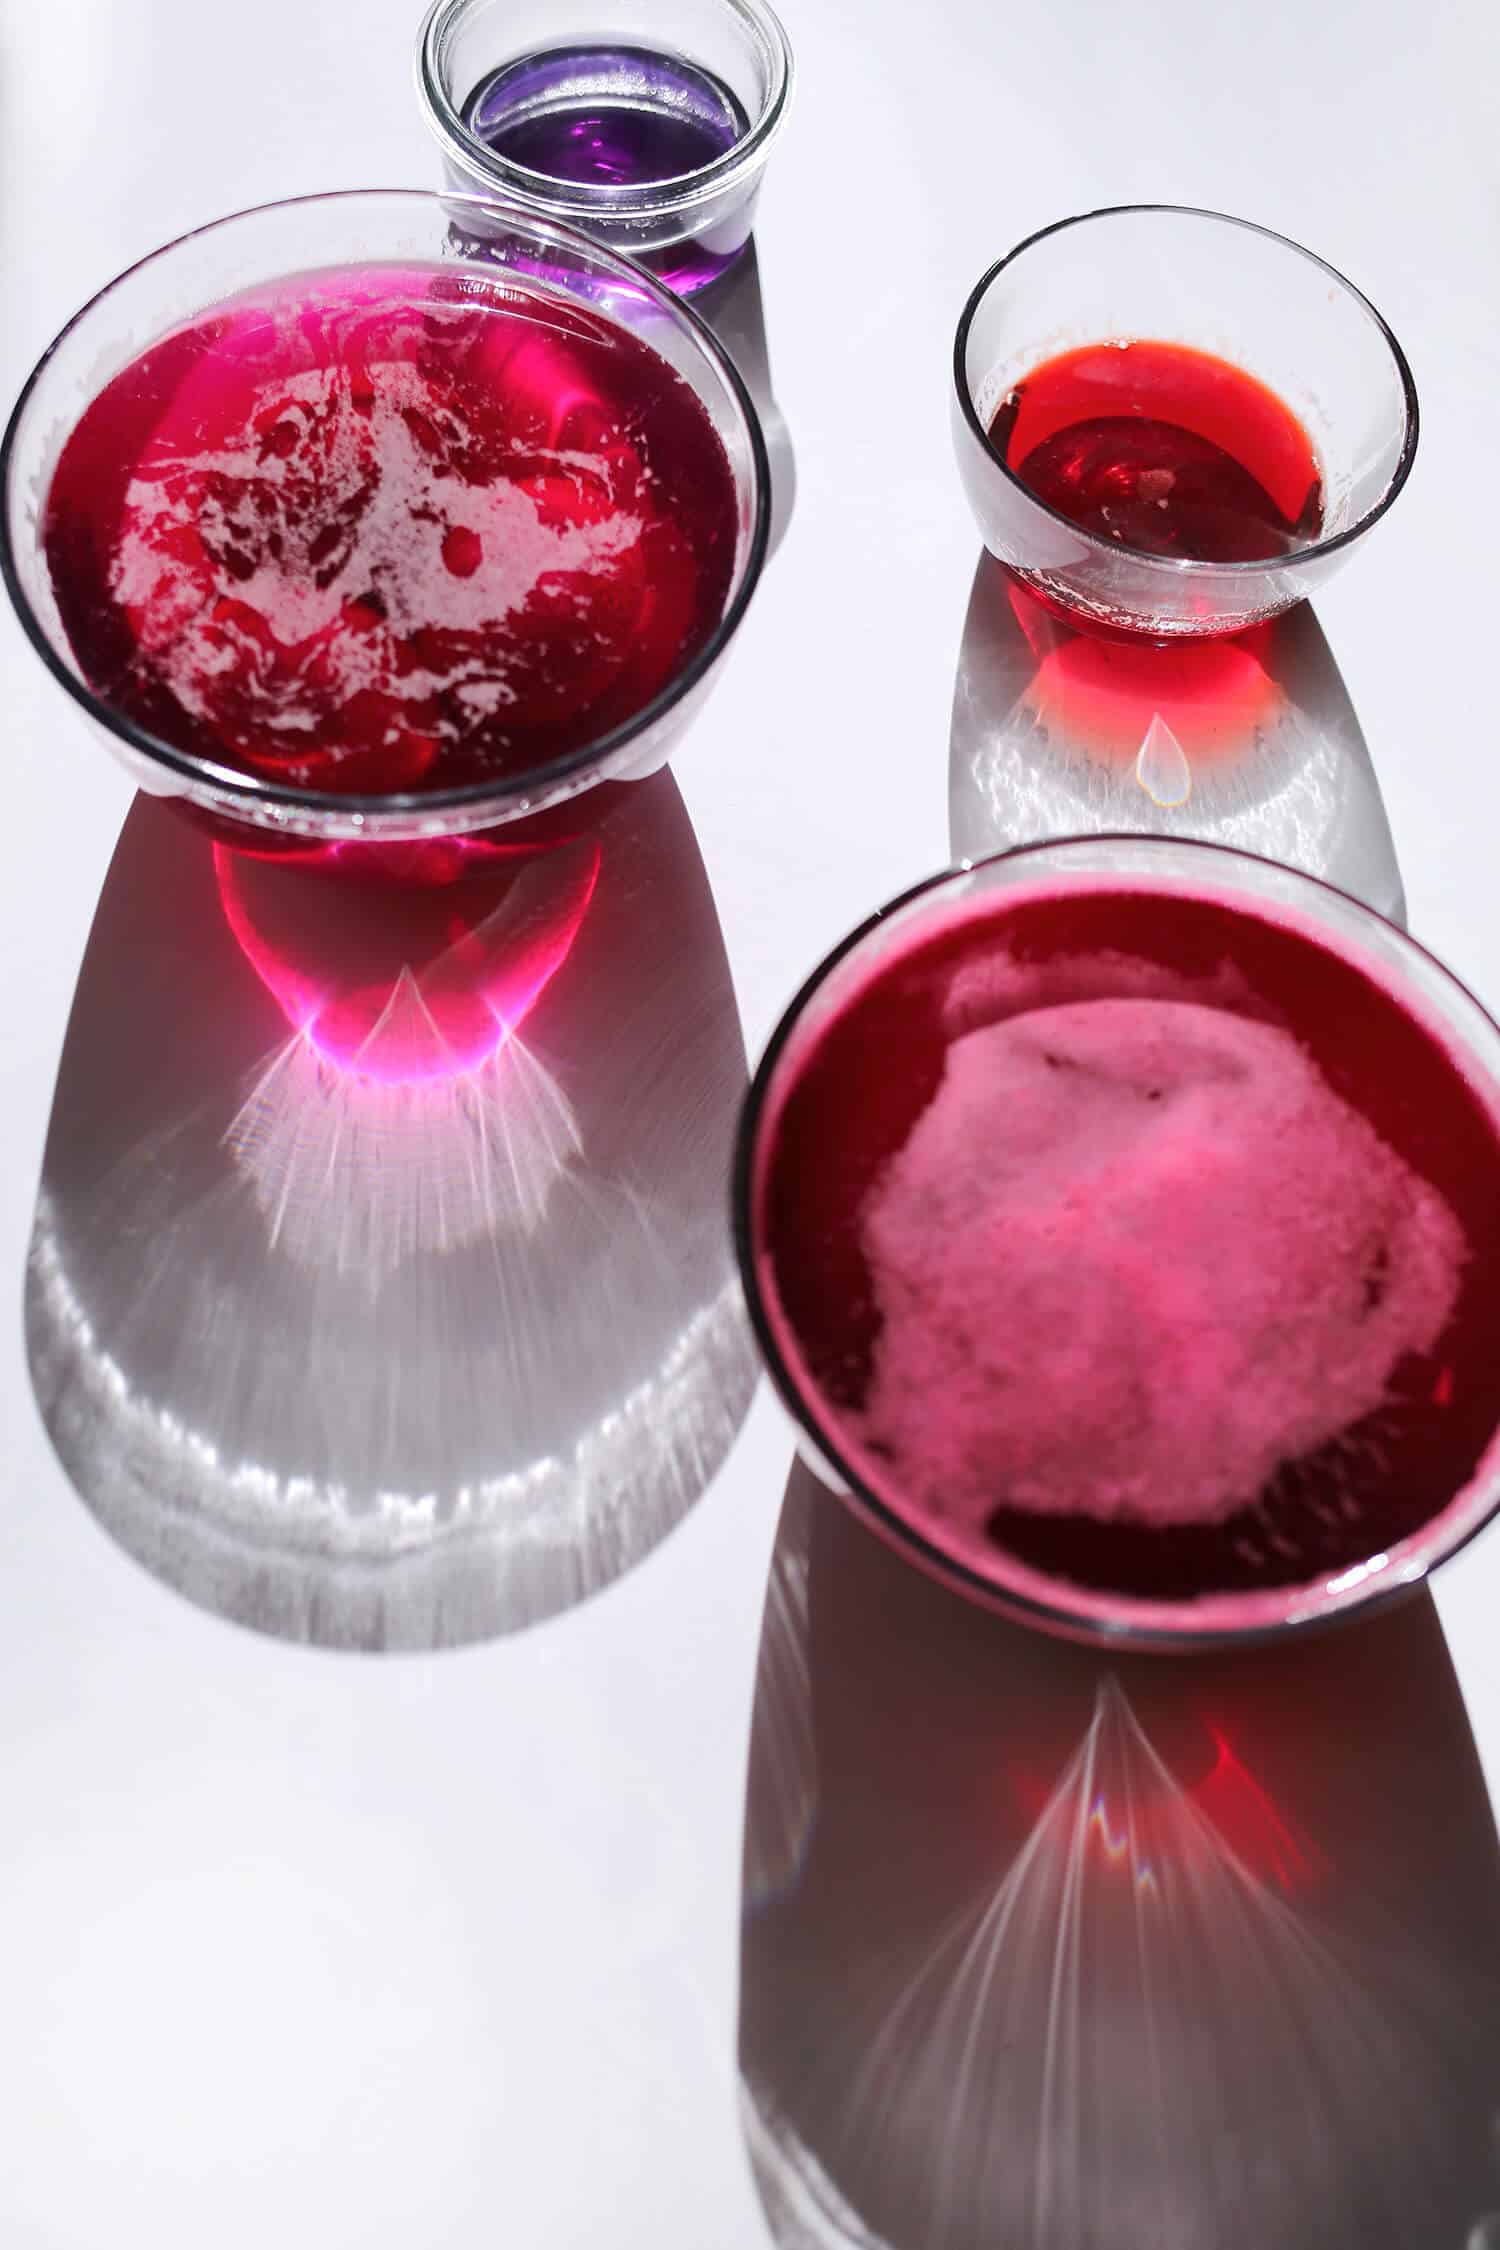
Once you’ve decided on which colors you want to use, chop up your vegetables into small pieces and add them to a sauce pan that is filled just over 3/4 of the way full. To extract the richest colors, you’ll want to heat these to a simmer (tiny bubbles on the edges and steam coming off the pot) for about 20 minutes.
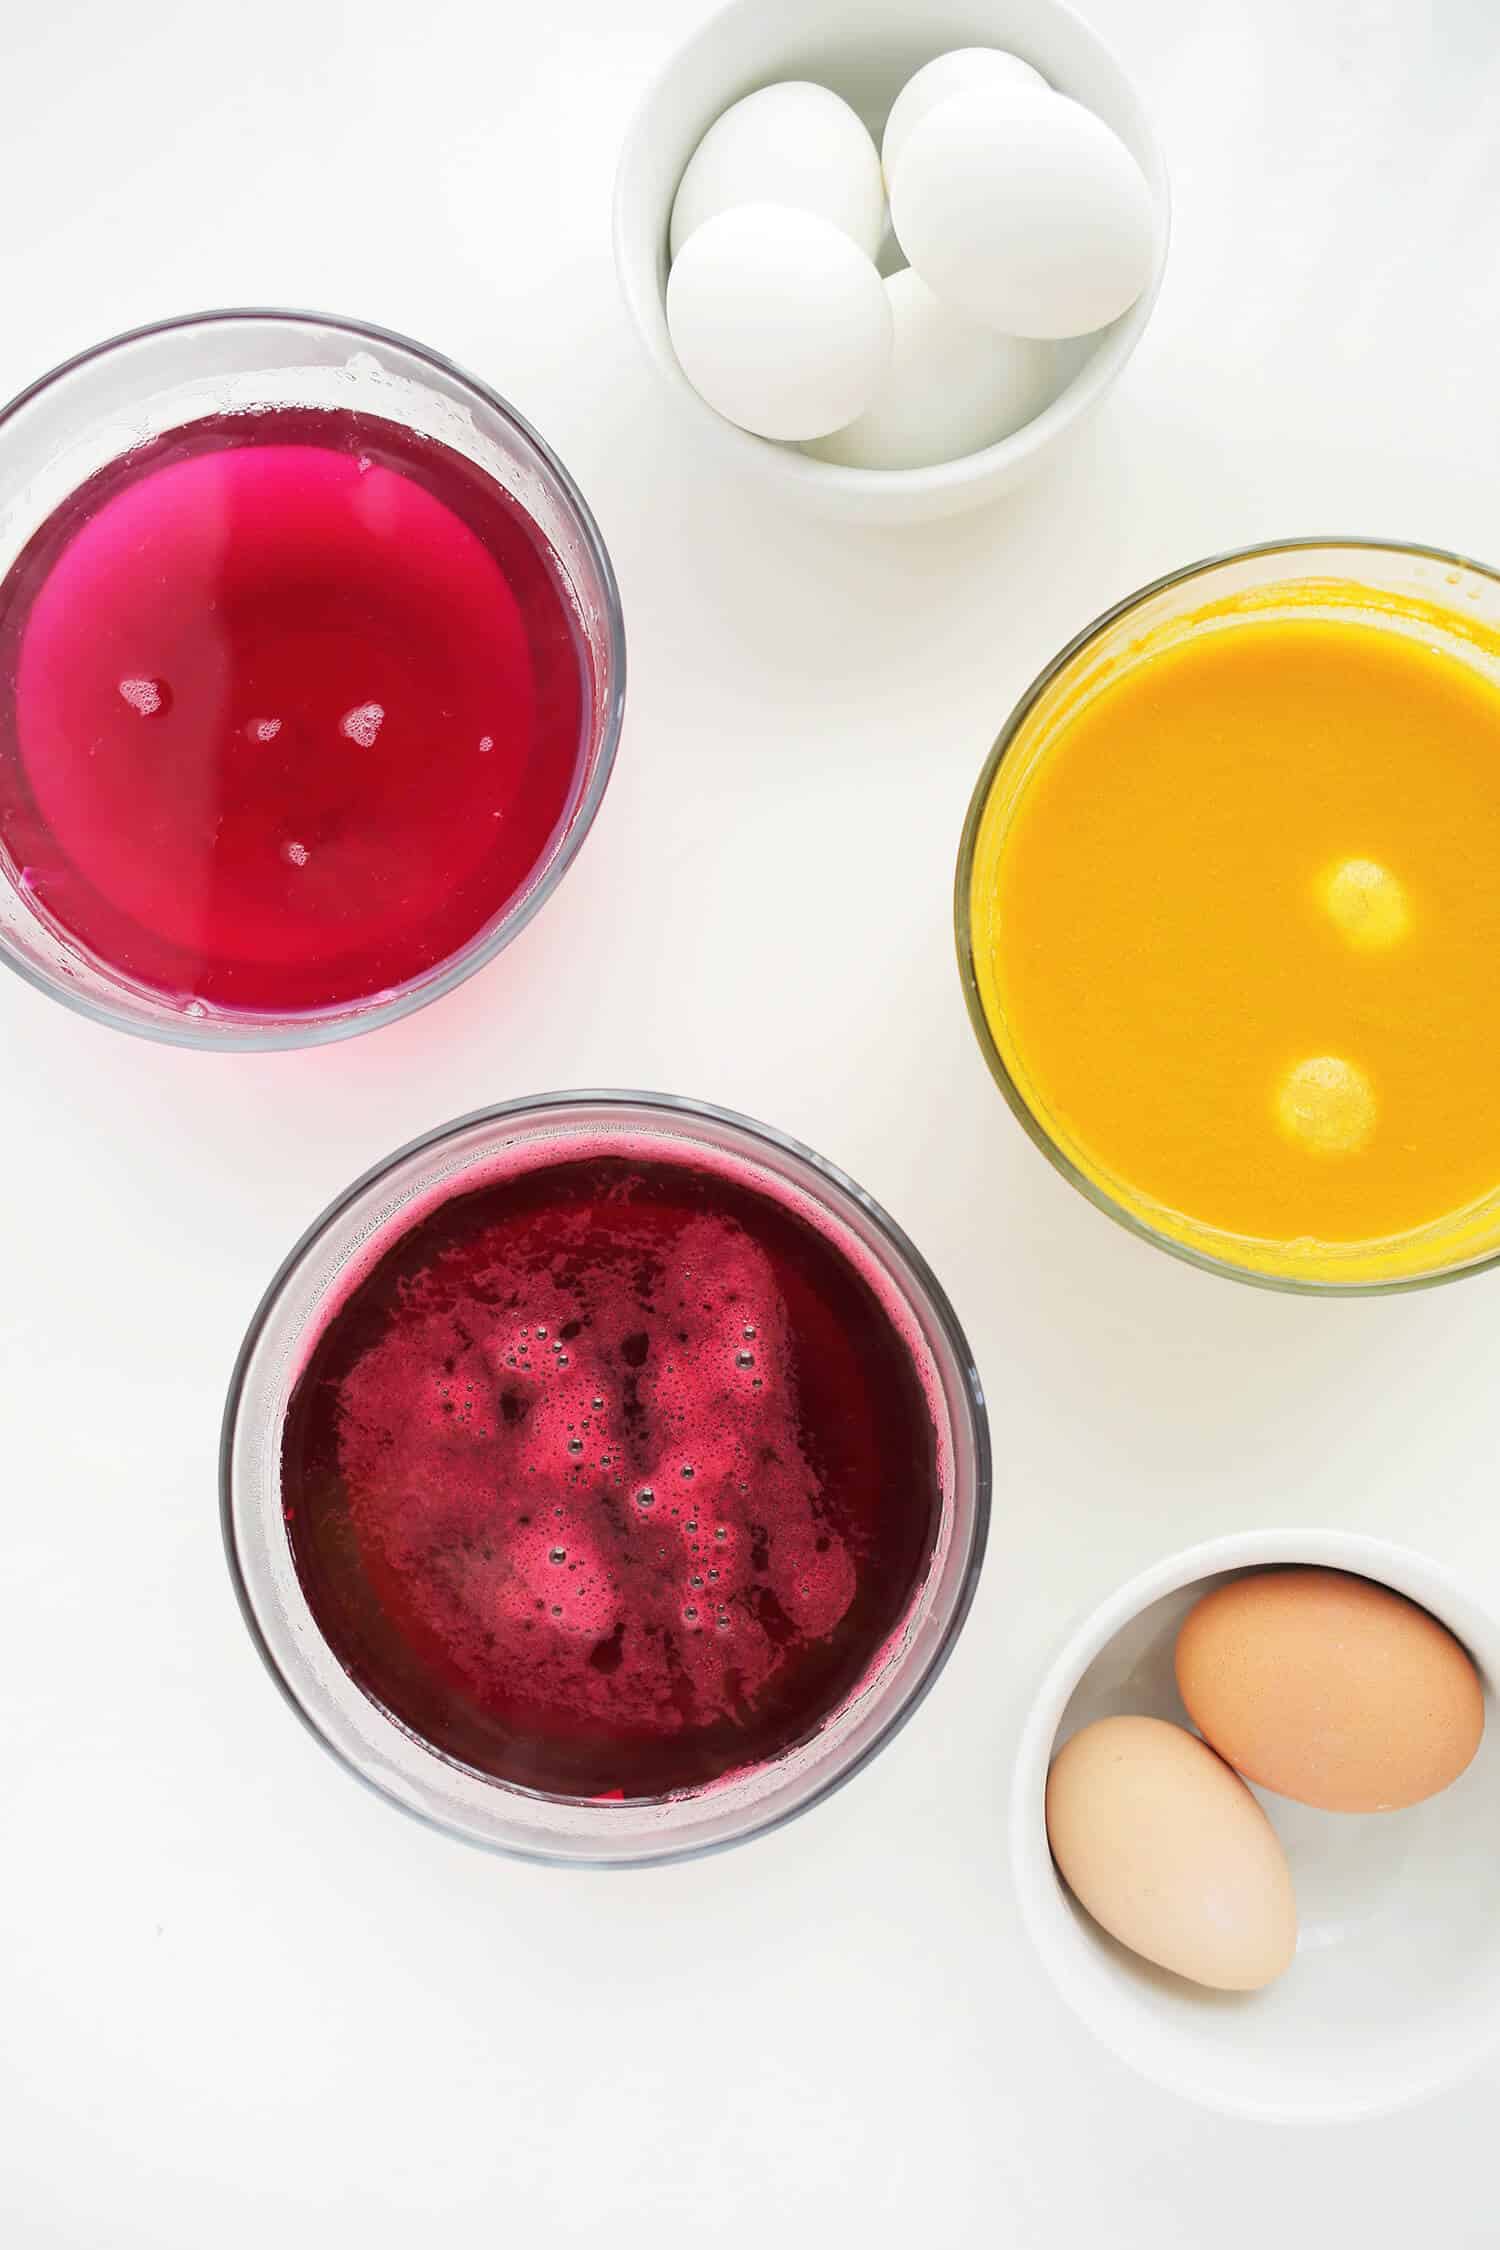
Let them cool and then strain your dye through a strainer into a glass bowl or some container that will allow your eggs to be submerged. The amount of liquid from one sauce pan should be enough to dye six eggs each. You can also separate your dye into two bowls and add vinegar to one of those bowls. This will allow you to get two colors from the same dye pot.

 Let your hard-boiled eggs rest in your dye at least two hours. You can also try letting them dry and dipping them again for two more hours. The richest colors will come from leaving them to soak overnight. If you’re dyeing with children, older kids can help with cutting vegetables and straining liquid. Younger kids can help by dyeing the eggs and checking on them after the timer is set. It’s a great way to teach them about science while letting them explore the connection between plants and colors.
You can also draw on your hard-boiled eggs with wax crayons before adding them to the dye baths to create fun patterns or cover them in stickers. Add glitter if you dare! 

 Other colors that I’ve seen used are coffee grounds, blueberries, saffron, yellow onions, and green tea.
 They’d make a gorgeous centerpiece for an adult brunch as well, don’t you think? Have you ever tried dyeing your Easter eggs with plants? I’d love to hear what worked for you or what plants weren’t mentioned here.
Courtesy of A Beautiful Mess


